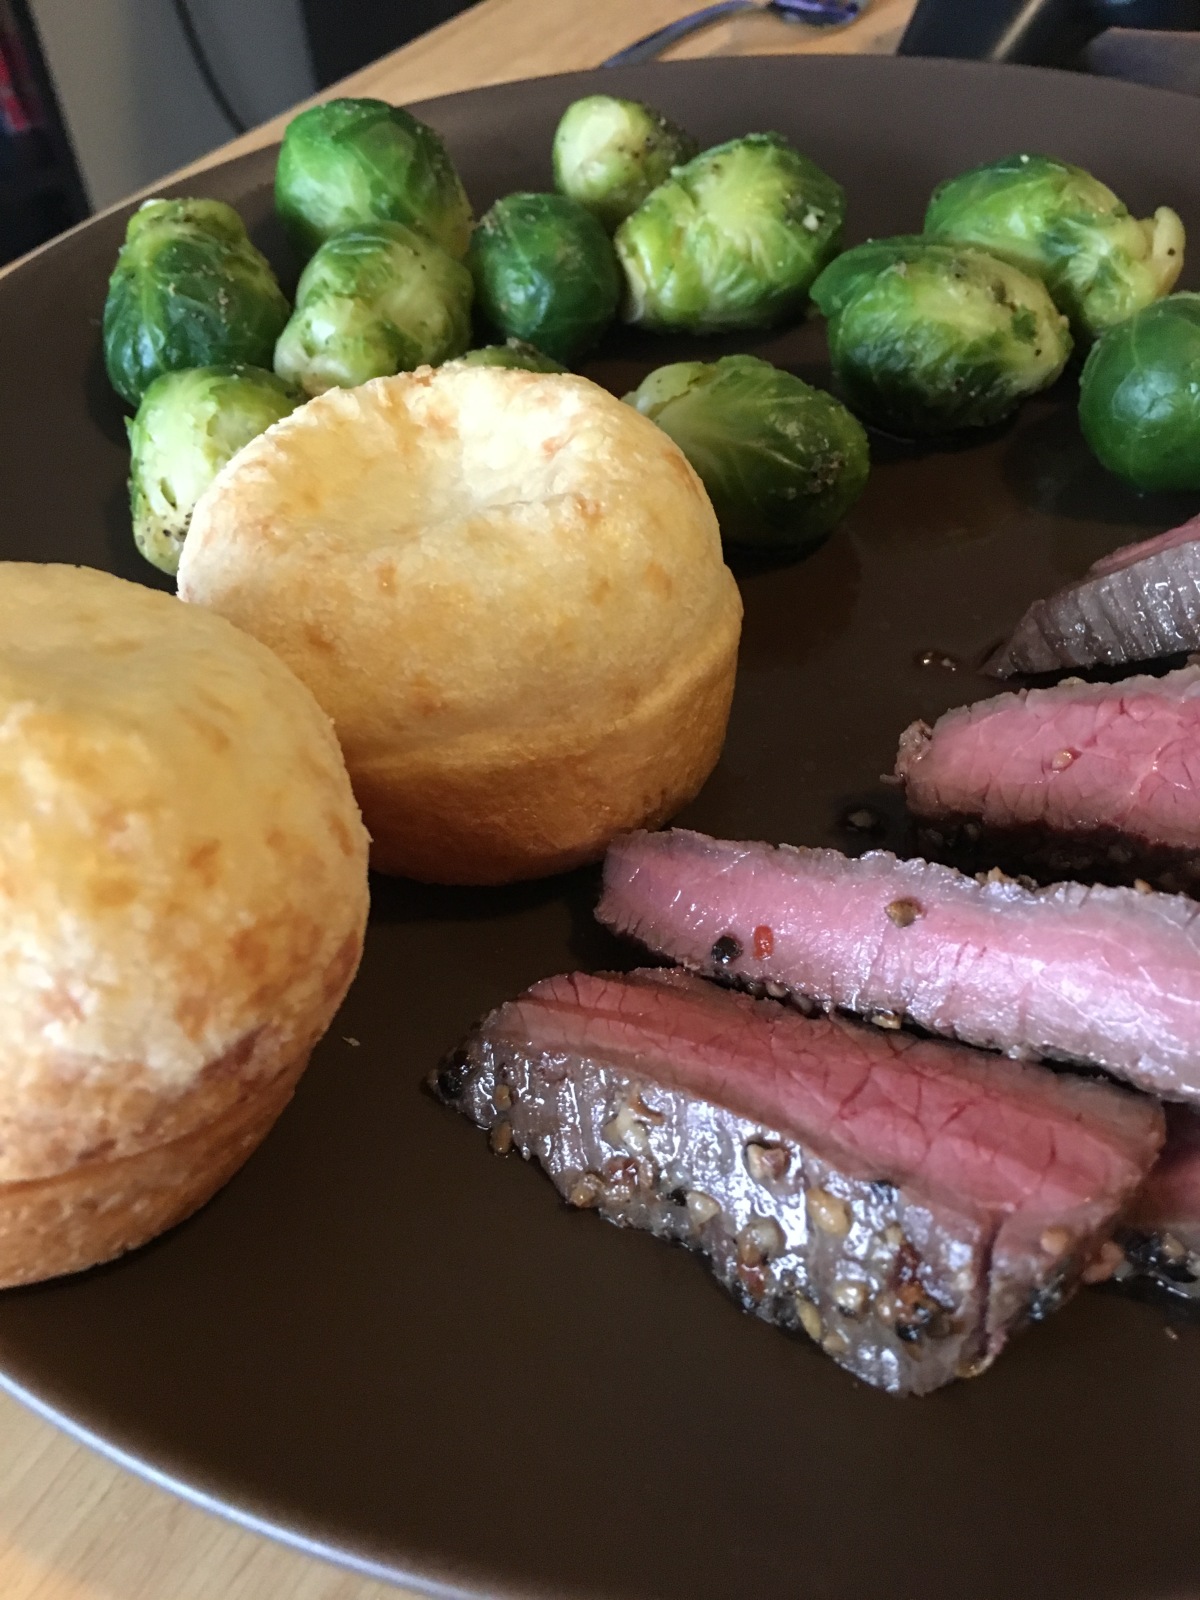
Between the summer festivities in August, the upcoming Food and Wine Festival at Walt Disney World this fall (more on that later) and my own visits to a Brazilian steakhouse this summer, Amanda and I have been in a Brazilian state of mind for sure. While Brazil has a lot of traditional and interesting dishes to offer, these delightful little cheesy puffs of deliciousness pretty much could not be skipped in our eyes. If you’ve ever had the pleasure of going to a Brazilian Steakhouse, these are usually on the table. While I usually try not to distract myself from the prize at any Churrascaria (aka the poles of meat floating around the restaurant ready to be sliced just for me and grabbed by my spiffy meat tongs), these are not to be missed.
I read an amusing quote years ago somewhere in the caverns of the internet that went something to the effect of “I treat recipes like I treat science fiction novels. When I finish reading one, I think ‘Well, that’s never going to happen!’.” This is generally my thought when I read any recipe with special ingredients that I’d have to take a special trip to the grocery store to locate and then to find out it was never stocked there in the first place. While Amanda and I probably have ingredients on this blog that might not be in everyone’s kitchen, I like to keep things on the generally simpler side maybe with a few substitutions here and there if and ingredient is completely out of the question. When I saw Tapioca flour/starch was needed, I hoped there was some way around it. I will say though, it seems to be worth it to just bite the bullet and get some. The chewiness and texture of the start is unique in my experience and while I’m sure someone out there could provide an alternative, I recommend trying it. It should be noted that this also makes these little beauties gluten-free, which I know is so trendy.
As a disclaimer, I’m sure that my method of putting these ingredients together is not traditional. Amanda utilized a different (probably more correct) method involving heating and cooling and then baking and quite frankly that sounds like a lot to me (see science fiction quote). This really could not have been simpler, and makes an excellent last minute side dish if you’re ever in need (and already have that tapioca). The most difficult thing was probably cleaning the food processor. Without further ado, I present:
To recreate Merideth’s attempt at Pao de Queijo, you will need:
- 1 2/3 cups tapioca flour*
- 1 cup grated queso fresco**
- 1 large egg
- 1/3 cup olive oil
- 2/3 cup of milk (I used skim milk, but I’m sure it can only be improved with more fat)
- 1 tsp salt
- Freshly greased muffin tin(s). This makes about 24ish puffs so you can do it in batches or all at once depending on your tin supply.
*Hint: At my grocery store, this was located with the baking goods next to the potato starch, and not the specialty gluten-free section. I have since seen it in this section as well though, so check both if you have them.
**Queso Fresco is fairly mild and 1 cup is certainly upping the ratio from initial attempts because I love the cheesy taste (and does anyone else hate measuring grated cheese? Just dump it in!). However, if you want maybe a bit sharper taste or if your grocery store isn’t the best with its cheese selection, you could use a combination of mozzarella and parmesan (or just parmesan) to equal about 2/3 cup.
Instructions:
- Preheat oven to 400 degrees as you are putting everything else together.
- Dump everything into a food processor and pulse until everything is smooth and blended. This created more of a batter than a dough, so this is where those greased muffin tins come in handy.
- Fill each tin about 2/3-3/4 full and bake in the fully preheated oven for 20 minutes or until it puffs up and starts to develop brown spots.
- Remove from the oven and allow to cool to a non-mouth-burning temperature but be sure to enjoy warm.
If you do not have a food processor, you can go Amanda’s route and heat the milk, oil and salt until combined, then remove from the heat and add the cheese and flour until combined. Then, wait for the mixture to cool a bit. Add the egg and spoon into your muffin tins continuing instructions above.
Wine Pairing: Moscato pairs really well with these treats, as the sweetness balances the cheese while still keeping with the lightness of this snack. Of course, you’re probably making yourself a steak to go with these so you could always just pair a nice red Cabernet and see what happens. Enjoy!