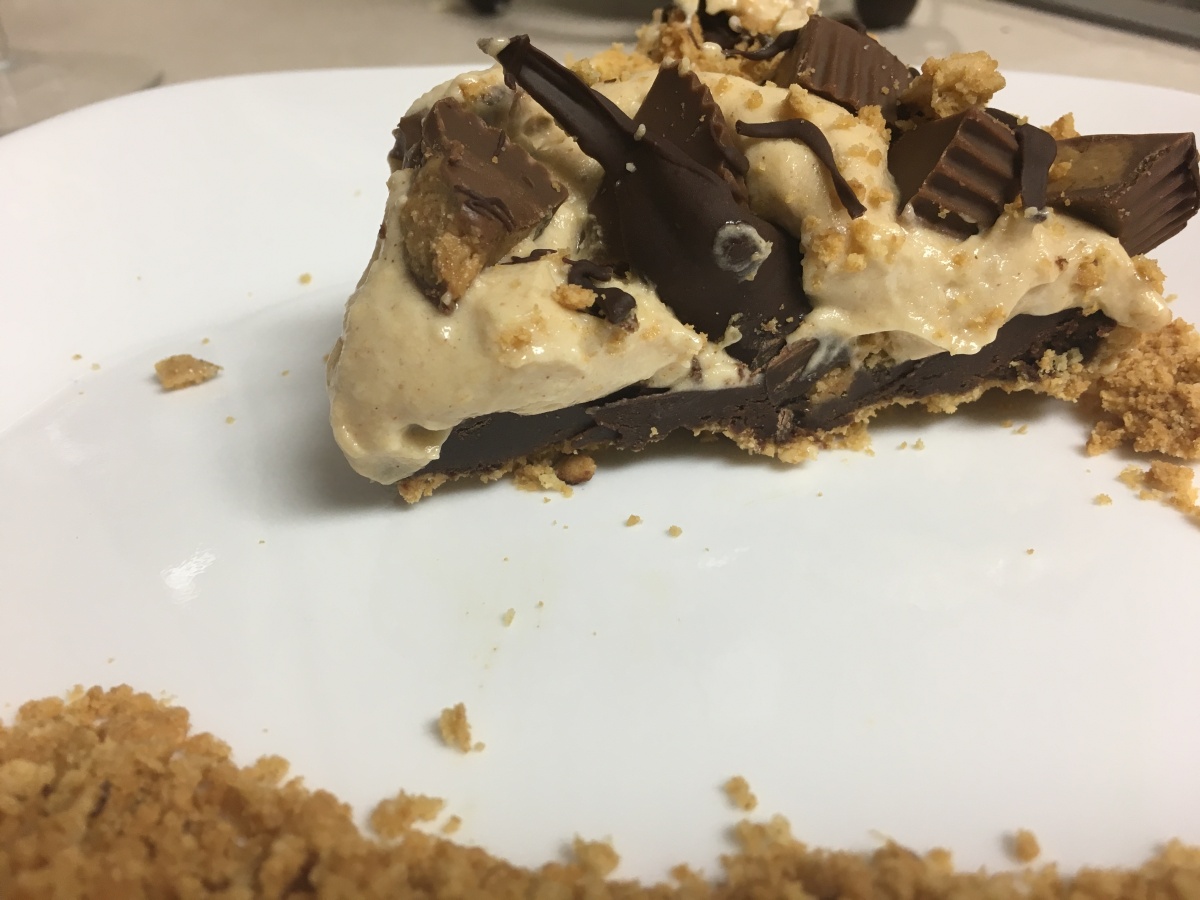
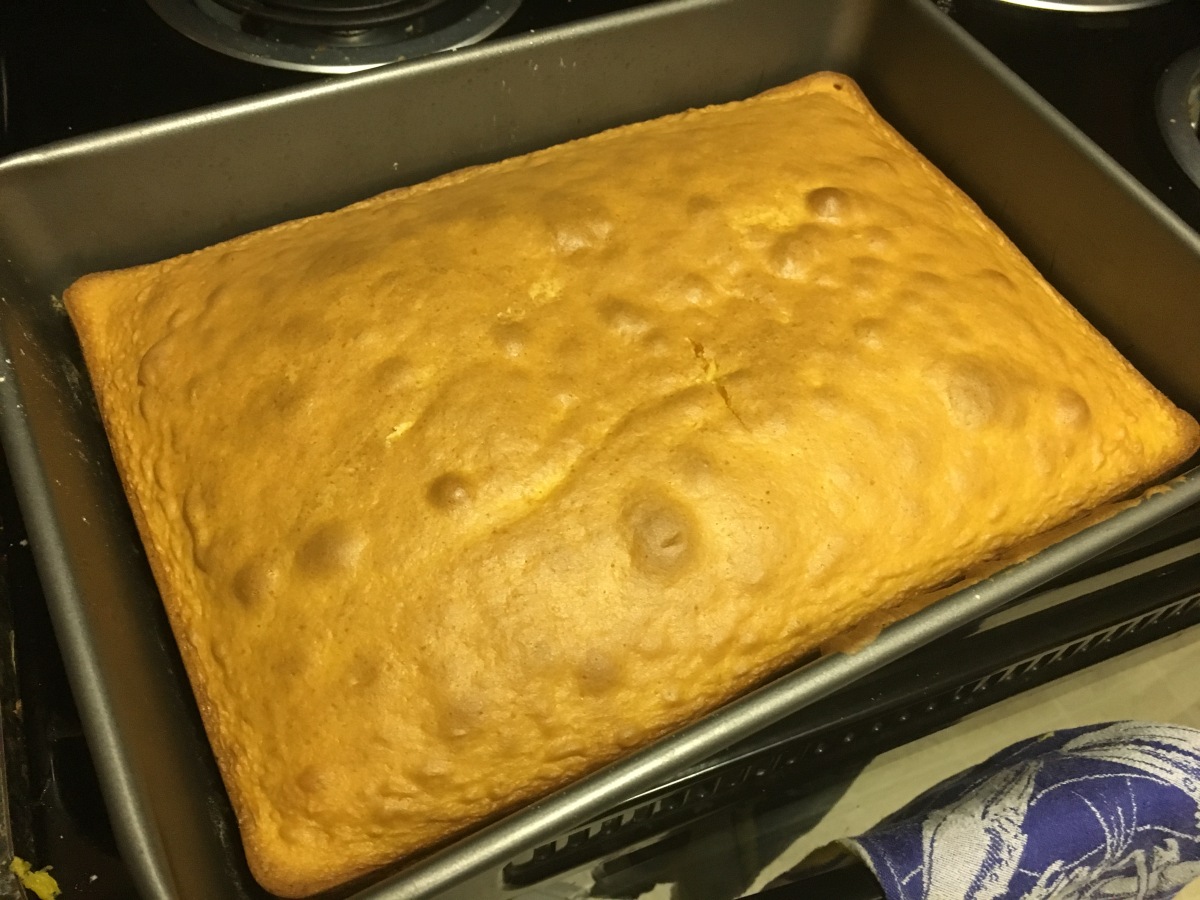
Both Amanda and I had a rough go of our most recent round of recipes. We were feeling something sweet and indulgent, but our ambitious recipe ideas fell a bit short this time. While I still have faith that our original visions will someday come to fruition, you know what they say: “Shoot for the moon. Even if you miss you’ll land among the stars.” Scientific accuracy of that phrase aside, these dessert cups were a happy accident when I was forced to improvise. Between having used up many of my ingredients on a failed casing for my nutella ricotta, I made this press in crust with the few essentials I still had on hand. The result was a savory complement to the sweetness of the chocolate hazlenut flavors in the filling.
At the end of the day, Amanda and I wanted to put our baking urges to good use and make something delicious. These little dessert cups, while not my original plan, did just that. They would be excellent for parties since they are bite sized, and would be sure to catch the attention of your guests (plus they can be assembled in advance–you know how I love that). However, you don’t need to wait for a party to enjoy this yummy treat.
Crust Cup Ingredients:
- 2 cups all purpose flour
- 2/3 cup of canola oil
- 1 tsp salt
- Water if needed
- A few drops of optional red food coloring
Ricotta Filling Ingredients:
- 1 15-oz container of whole milk ricotta cheese
- 1/2 cup whipping cream
- 1/4 cup of hazelnut chocolate spread, like Nutella
- 1/2 cup powdered sugar
- 1/2 tsp vanilla
- Chocolate shavings for garnish if desired
Instructions:
Make the Filling:
- If your ricotta cheese looks a little runny, it may be helpful to set the cheese over a strainer lined with cheesecloth, sitting on top of a bowl for drainage. Wrap the cheese in any leftover cheesecloth falling over the sides of the strainer and put something heavy on top. Allow to rest for 6 hours up to overnight in the fridge and allow it to drain.
- In a large mixing bowl with an electric mixer or stand mixer fitted with the whisk attachment, whip the heavy cream until stiff peaks form.
- In another bowl, combine the ricotta, chocolate spread, powdered sugar and vanilla and stir until everything is well incorporated.
- Carefully fold in the whipped cream and chill the filling for at least 2 hours or until you are ready to use. Can be made at least 2 days in advance (but be careful because you might eat it all before it makes it to assembly).
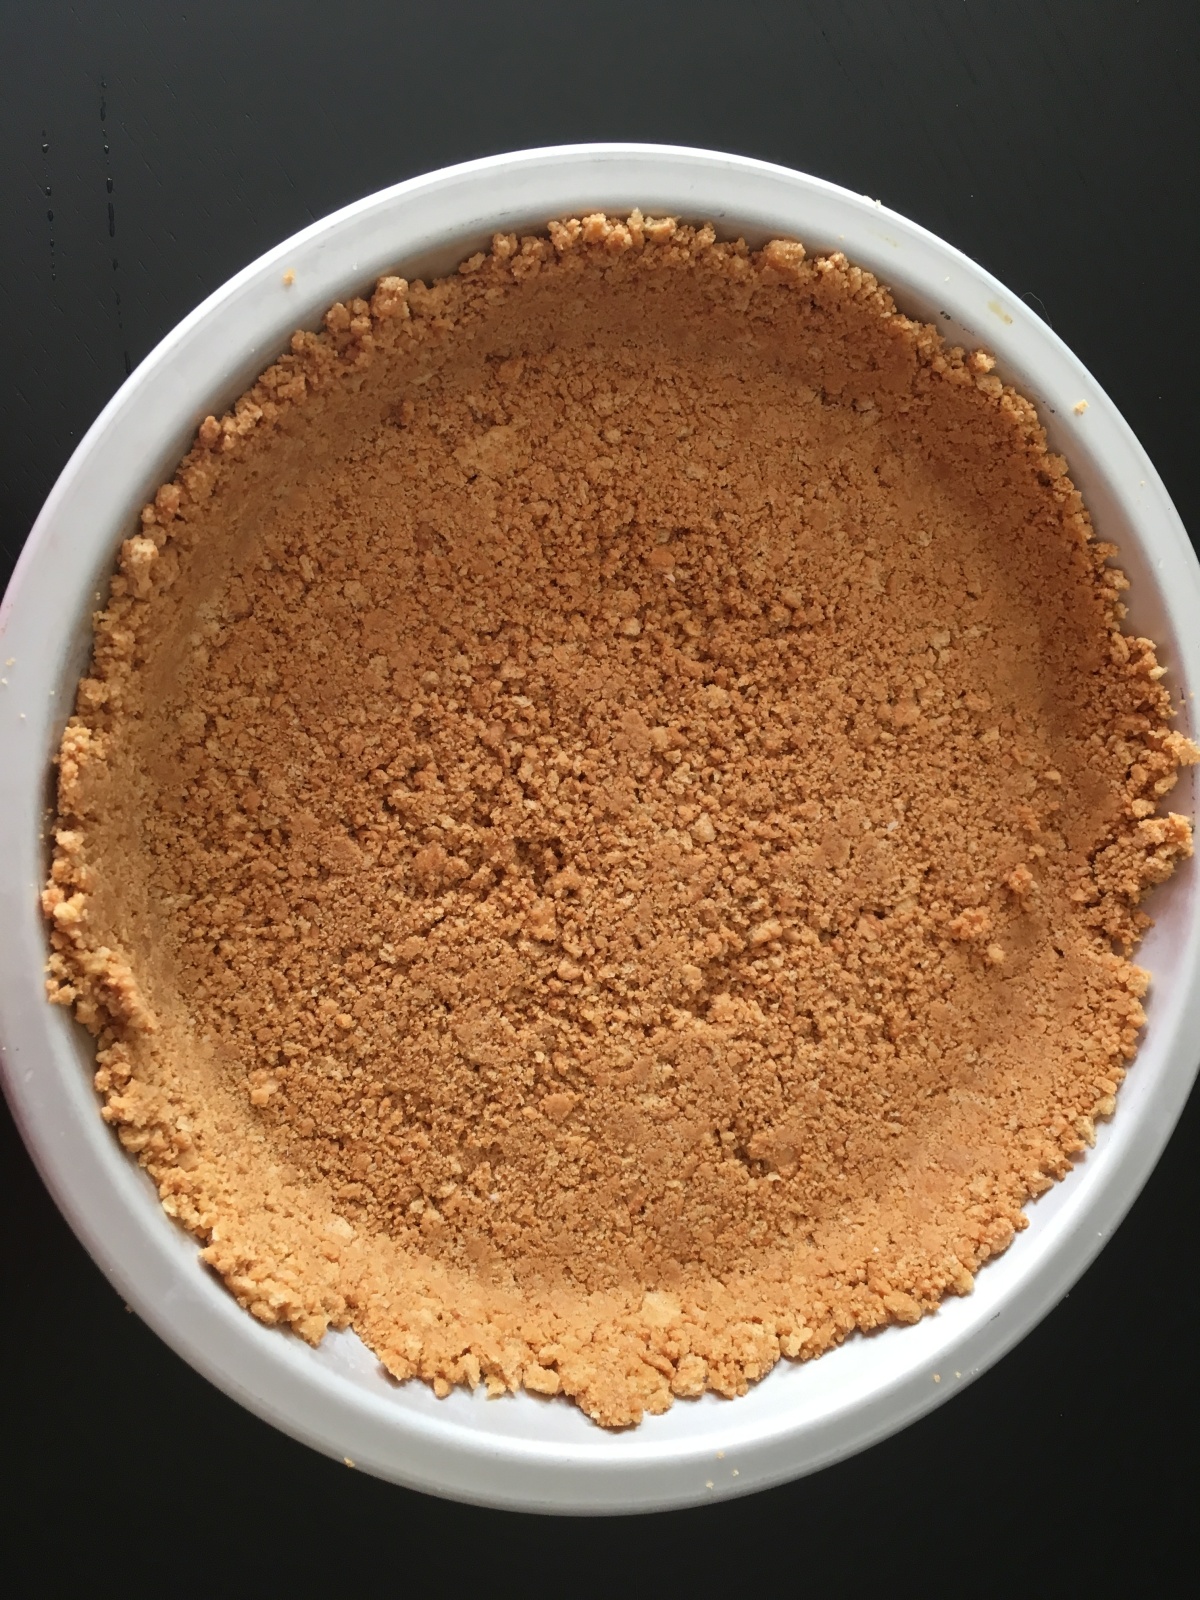
Make the crust:
- Preheat the oven to 450°F.
- Whisk together the flour and the salt and make a well in the middle. Drizzle in the oil and combine with a fork until a dough forms. If it looks dry, add water, one tsp at a time until it comes together. If you wanted to use the red food coloring, you can add it with the oil before adding to the flour to help it distribute evenly or you can add at the end to make a marbly pattern like mine pictured.
- Divide the dough into 12 balls in and press each one into a muffin tin so that it lines the bottoms and sides, like a cup.
- Bake for 10-15 minutes until the crust is dry. Allow to cool for 10 minutes before popping out of the muffin tins.
- If the top edges look a little rough, a microplane can help file off any craggly bits if that is something that might bother you, but otherwise you are ready to fill once the crust cups are fully cooled.
Assembly:
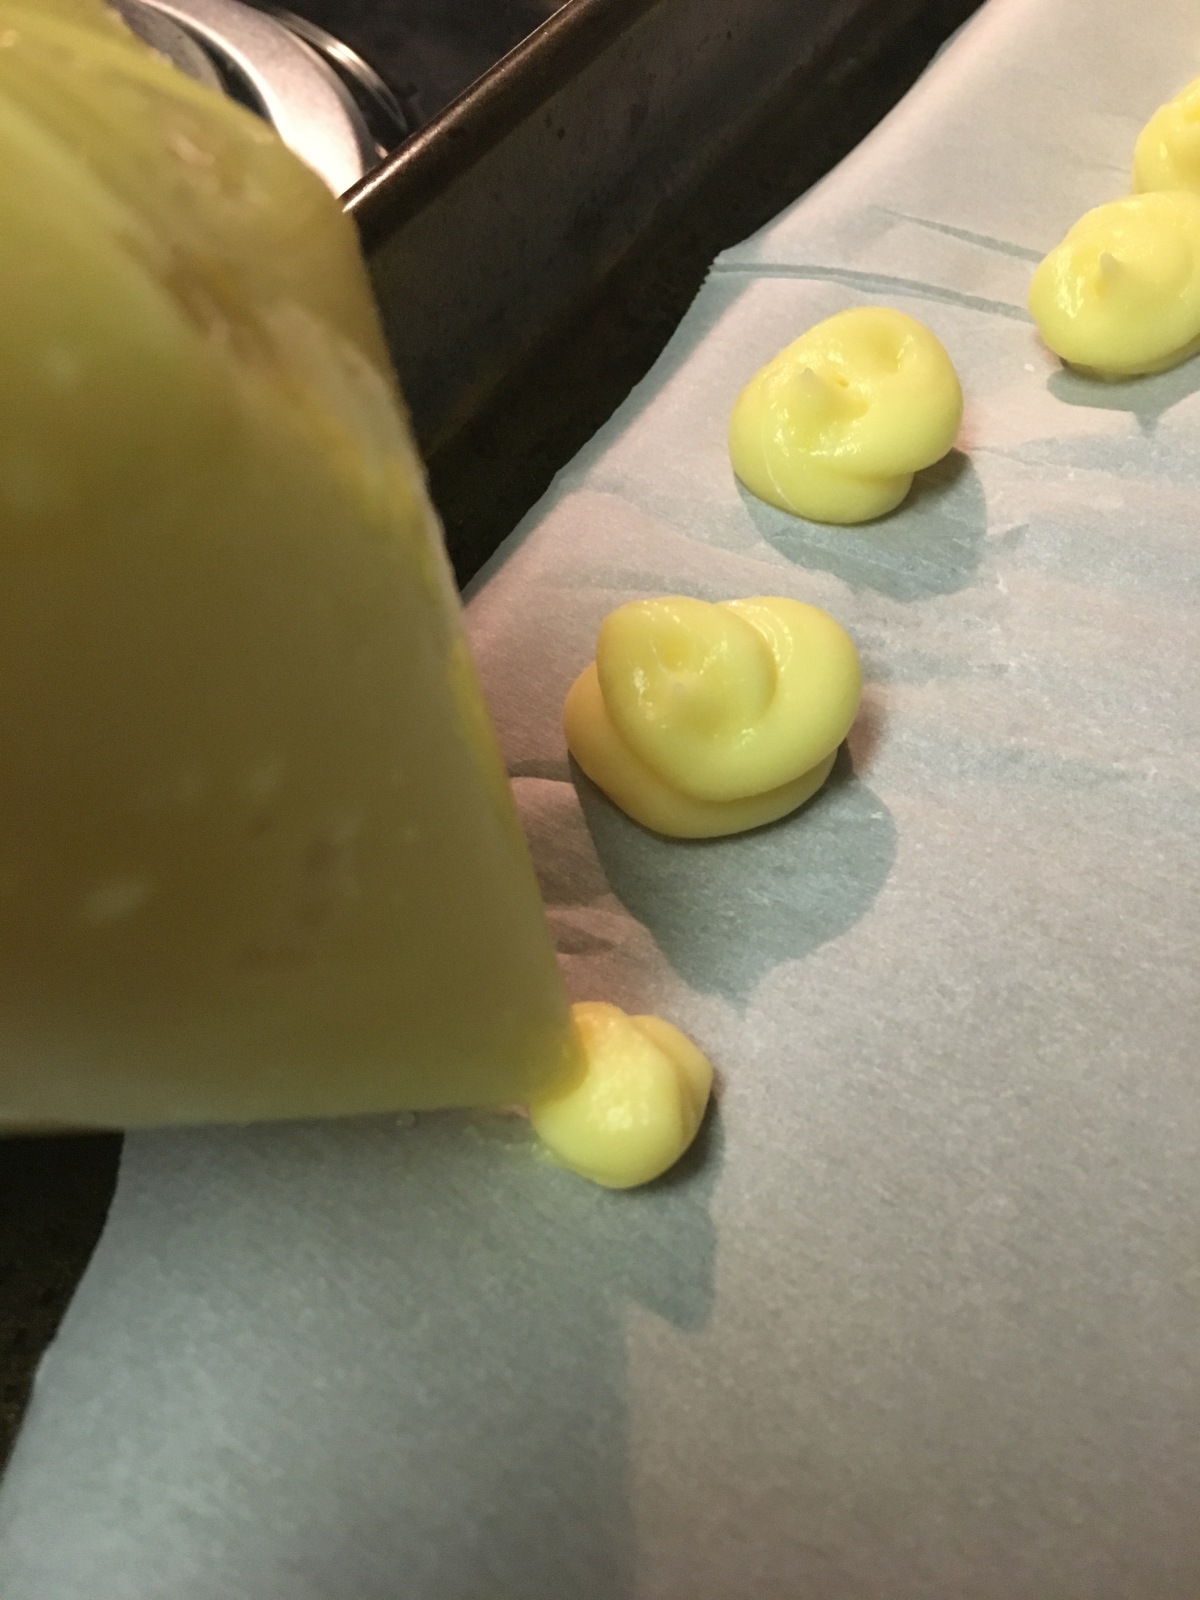
- Add the chocolate filling to a piping bag or plastic zip top bag with a bottom corner snipped off and pipe in to your cups.
- Top with shaved chocolate if desired or maybe even some chopped strawberry if you want to get fancy and enjoy! Keep chilled if not eating right away.

Wine Pairing: Maybe it’s because I made these around Valentines day (hence the red food dye), but I’m feeling a dryish Rose with this one. Something Maybe with berry undertones, but more on the tart side, that chocolate spread is sweet!